Here are the step by step instructions to accompany my video ‘Simple Character Bookmarks’ for the Kid’s Make and Bake Club. Scroll down to the bottom for the video! 🙂


What you will need for your bookmarks.
- Scissors
- Pencil
- Coloured pencils
- Cereal box or similar
- White paper
- Thin white card
- Glue stick
- Circular item to draw round i.e. lid to a pot
- Optional extras, scraps of wrapping paper, stickers, gems etc

Firstly, decide on your character, the only limit is your imagination. A cowboy, an alien, a footballer, princess, explorer, what ever you would like. Then cut a rectangle of card from an old cereal box or similar. Not too big, but wide and long enough to mark the page in your book.

Next, place your cardboard rectangle onto a piece of white paper and mark it slightly longer top and bottom and at least twice the width. You can do this my moving the rectangle in from the edge, and then flipping it over away from the edge, and marking slightly wider. Don’t panic, this doesn’t need to be exact! Then cover your paper in glue and stick your rectangle in the middle.

Fold over the two ends and then fold over either side, so the cardboard is completely covered. Turn over and draw on your ‘outfit’ for the body of your bookmark. You can draw stripes for a coloured t-shirt, a dress for a princess, a spacesuit for an astronaut, the options are endless.
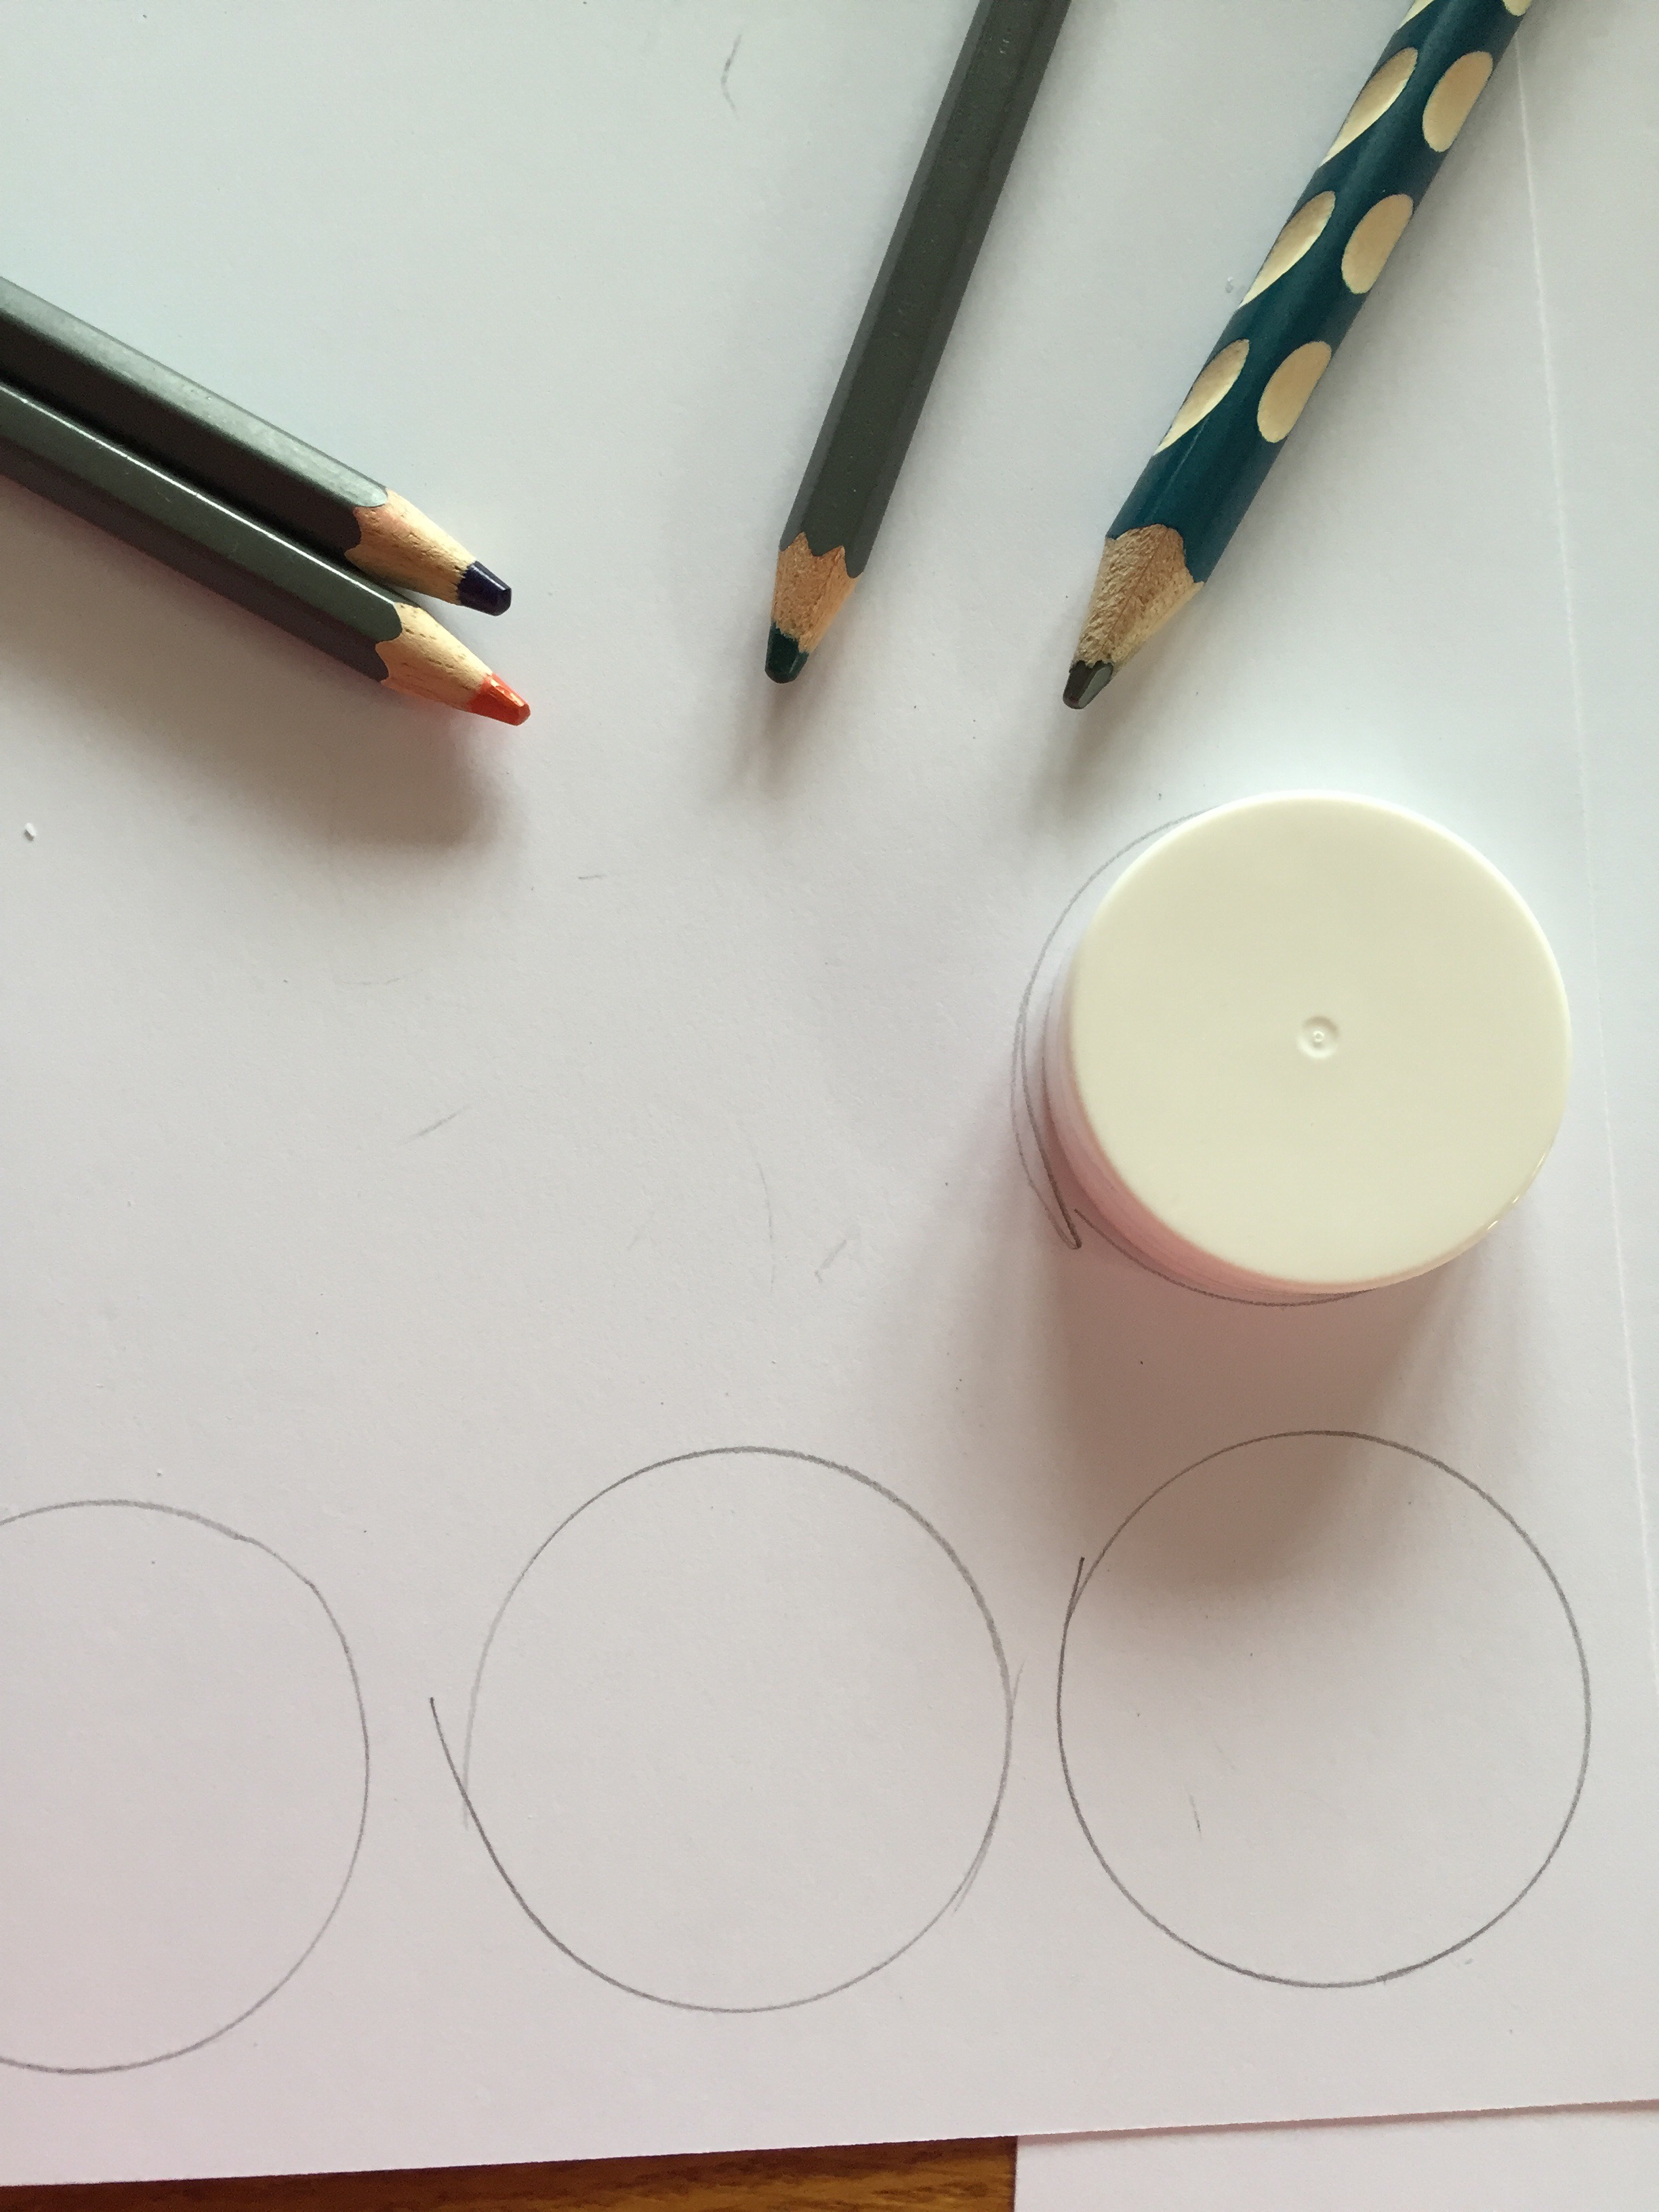
Draw around your lid onto the thicker card to get a face shape, I was mass producing here but you won’t need to make so many, unless you want to!

Draw a face onto your circle, making sure you leave a gap at the top to give you space to glue your hair on. Colour in your face and put some glue at the top of the ‘body’. Stick your head to the body and then place it on to the card. Mark the sides and top of your head and then draw your hairstyle on, making sure that it is slightly narrower then your face in the middle, so that there is something for it to stick to. You want it to ‘frame’ your face.

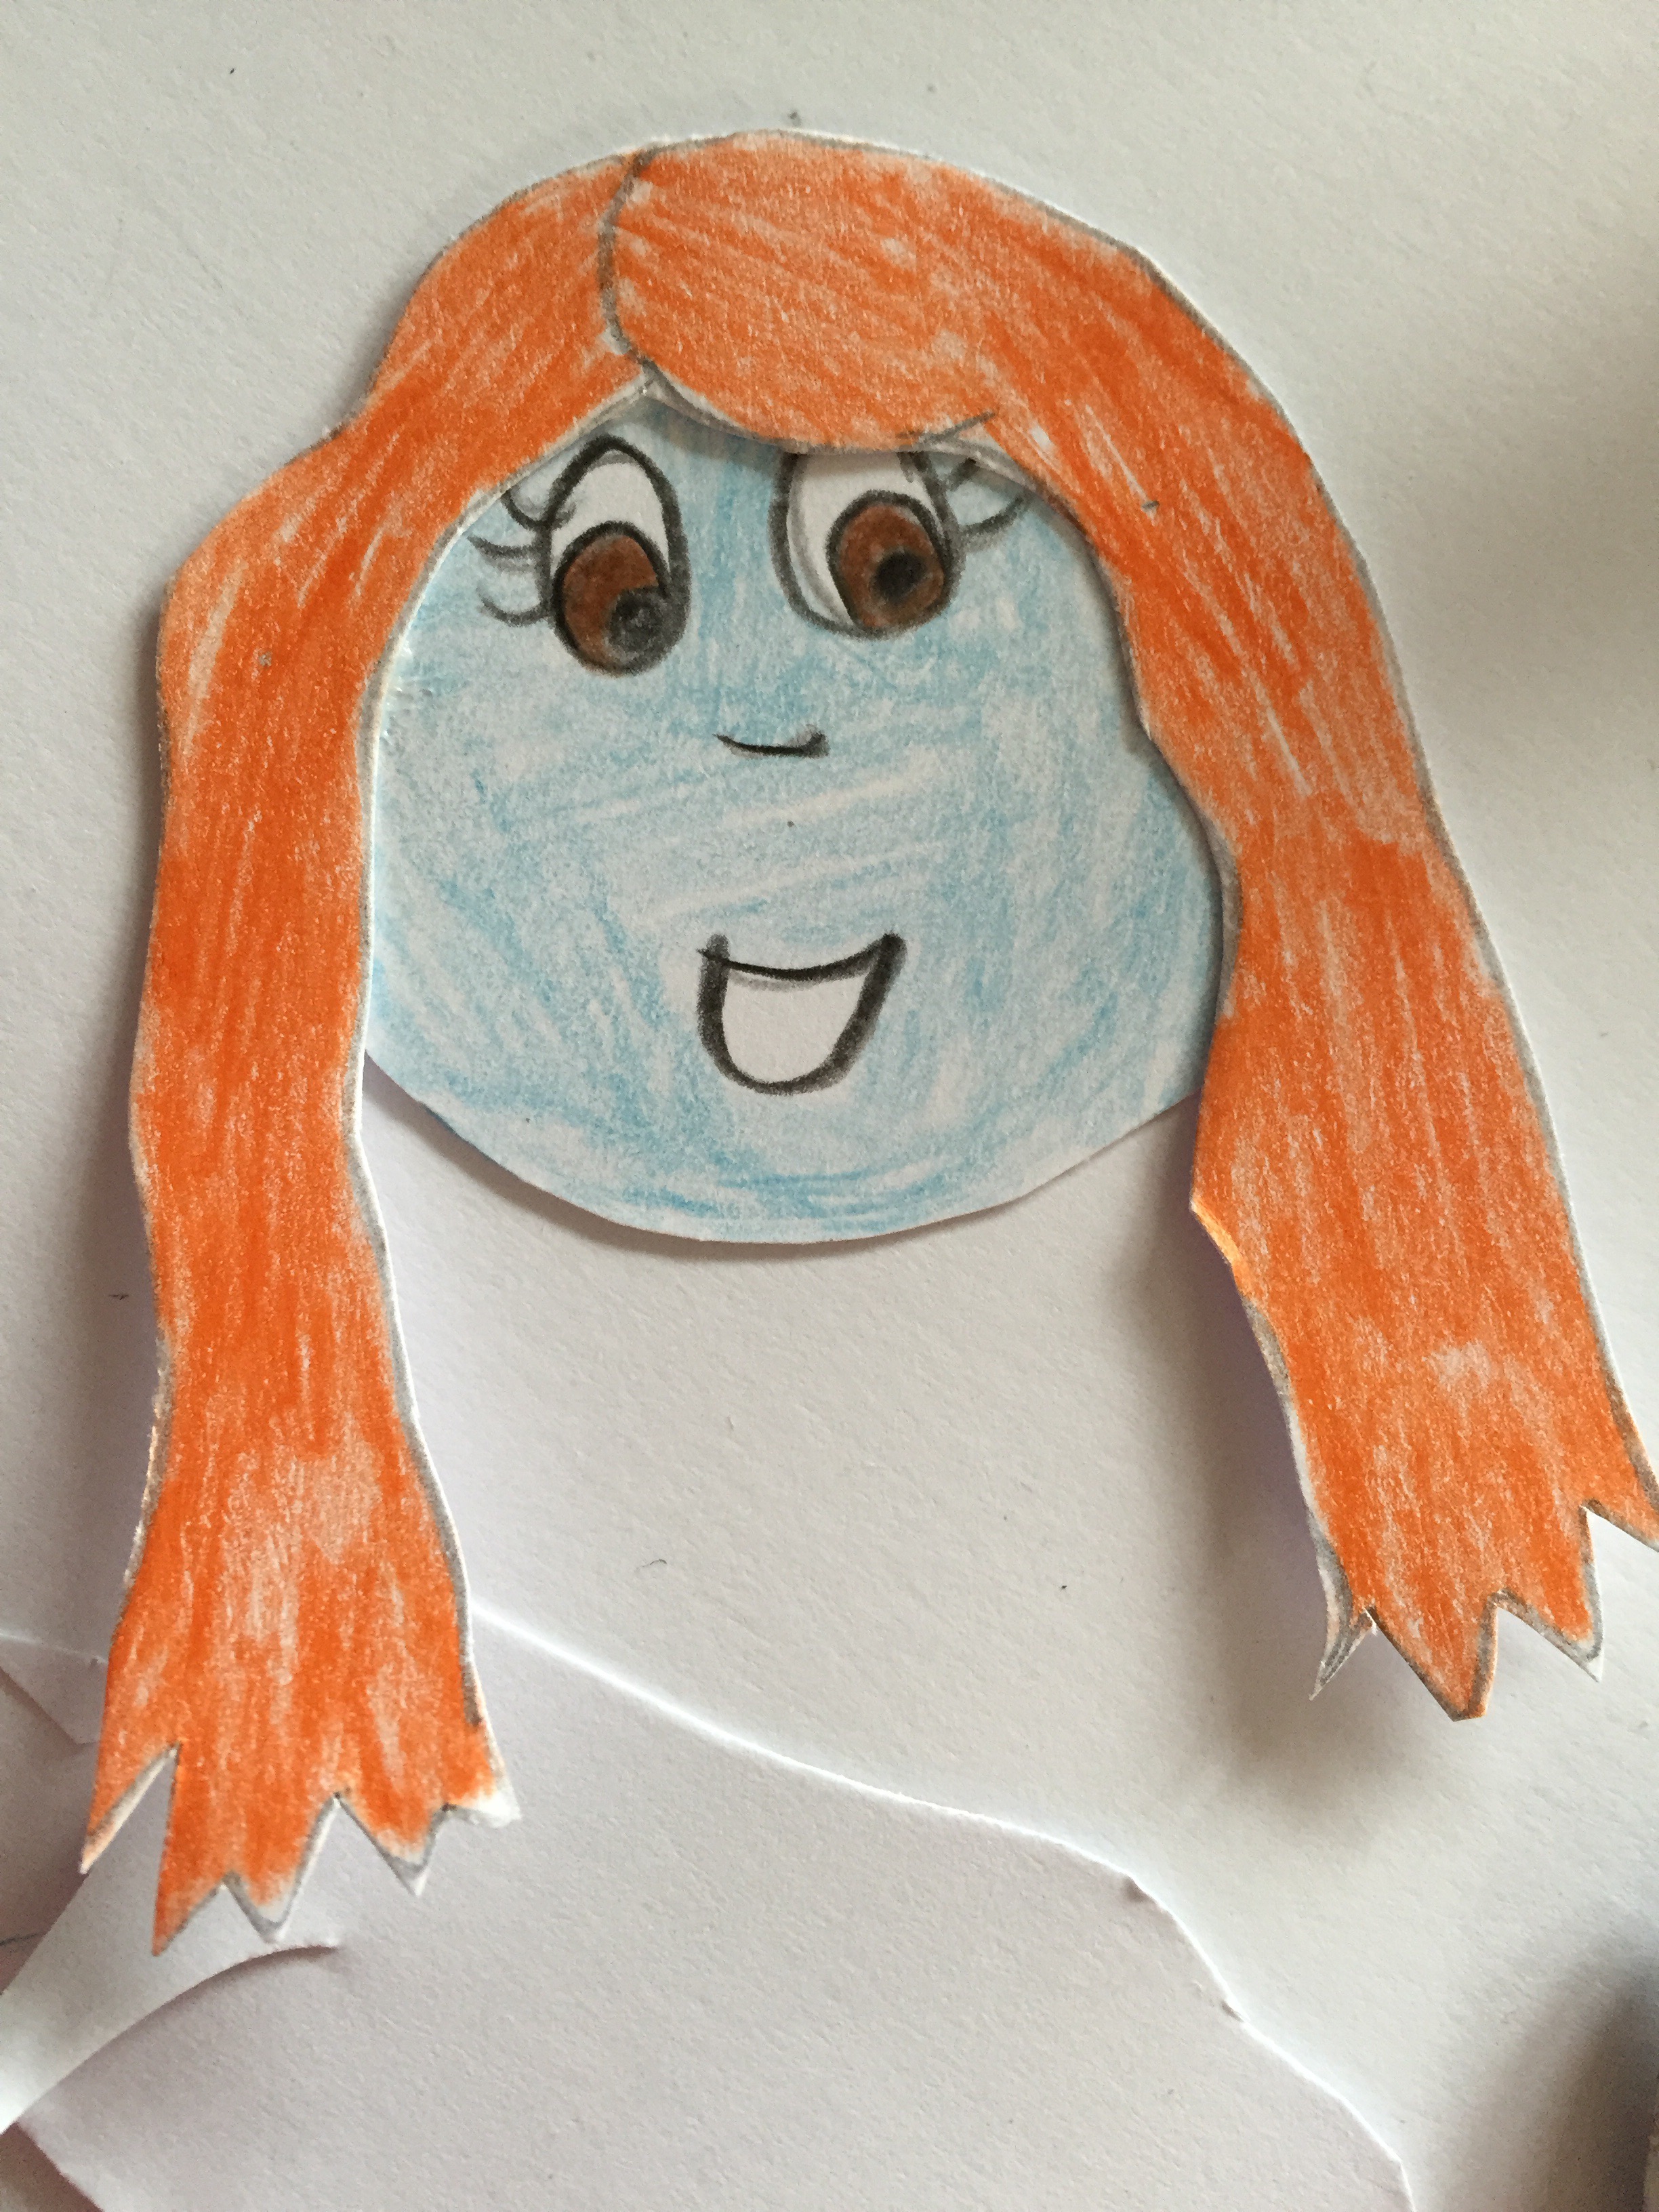
Stick your hair on to your face, this can be done either before or after sticking it your body, I’ve tried both ways with equal success.

Your finished product should look something like this! I’d love to see what you come up with. You can tweet me on twitter, tag me on instagram or post it to my facebook page so I can tell you how fabulous I think they are! 🙂
These bookmarks can be made for your children to keep for themselves, as a gift for a friend, or maybe even a teacher’s present for the upcoming end of year, after all, bookmarks are always useful and teachers love having the personal touch of a homemade present to remember their pupils by.

This lovely fairy was made by my daughter, she also made her a wand out of a cardboard square and a star. And copious amounts of glitter glue and glitter of course! She loves making these bookmarks.
What a lovely idea!
Thanks Rachel!! They’re such fun to make.
These are a lovely idea, encouraging both craft and reading… Even if the characters the children pick all turn out to be from TV! But seriously, really great and would also make great presents for grandparents etc. #bigpinklink
I think that’s fine too. You could even cut out faces of their favourites from magazines and stick them on. Whatever gets them engaged I say! 🙂
I love doing crafts with the big girl and these are fab! #bigpinklink
My big girl really loved these. Small boy, less so!! 😀
Great idea! Might get the boys to make some for me, there’s a bit of a running joke in our house about me always losing my bookmarks. I usually end up using hair grips, receipts, bits of random card…
I like the idea of making one for the teachers too – that’s really sweet!! #bigpinklink
Me too!! The most bizarre bits of tat I use. Not that I get much of a chance to read at the moment! 🙂
Ah lovely idea, my kids would love these. One for the summer holidays possibly x #bigpinklink
Oh yes, always good to have a few different things in store!
Really cute, idea. I love the fairy one! Great use of crafting that actually gets a result that people will love:)
mainy
#bigpinklink
Oh thank you! I’m so pleased you think so. 🙂
Love this idea, especially as they are bookmarks as I read to Josh every night and really want to get him into books and reading. Hes too young for me to making stuff like this with yet but it’s a lovely idea for the future xx #bigpinklink
You could always make him one to have in his bedtime story books. Although if he’s really little, he might just eat it! 😉
Such a good idea and it keeps the kids entertained with something to do #bigpinklink
It bought me loads of peace and quiet! 🙂
aww this is cute! I was making book marks with the preteen the other day! 🙂 #bigpinklink
Oh fab. It’s such a nice thing to make I think.
Actually this might be something I could get my two year old interested in doing. I am such a big fan of toddler crafting (not). She uses way too much glue. #bigpinklink
Glue sticks are the way forward! I’m NOT a fan of toddlers and gloopy glue!*shudders* 😉
Brill!! Such a fun idea, just need to get my kid to sit down and concentrate and we’ll give it a go! X #bigpinklink
One for a rainy day maybe!!
These are great! Oldest is always losing her bookmarks so next time I am going to get her to make one of these, she will love making them as well 🙂 #bigpinklink
Oh that’s lovely! I hope she enjoys making them!! Do send me a piccy! 🙂
Great idea particularly love the pirate one my boys would love this x #bigpinklink
My son adored the pirate!
Love this idea. I am not arty in the slightest so its good to get craft ideas for things to do with the kids #bigpinklink
I don’t think you need to be very arty for these. Just give them the stuff and let them create whatever they fancy while you sit back with a cuppa!
Cuuuute. Much cuter (and more functional) than the toilet roll ‘bird’ I made this morning…. Maybe I will share it some day. Maybe I won’t.
#bigpinklink (sorry)
Oh but what about the germs Mrs GP?! 😉 I bet it was a wonderful bird!
What a lovely idea! Stealing for church 🙂 Thank you
Oh fab! The ideas are endless. I’d love to see what the kids come up with.
Super sweet; you have the patience of a saint…scissors make me sweat!! #bigpinklink
Oh thank you! Not really, they make me nervous too but I try and bite my tongue!
These are fab!! My children actually have a thing for bookmarks-if they see one in a book they take it out and play with it! It drives my mum mad when they do it at her house!! Hopefully if I make these with them, they’ll stop doing it! They can be super proud of having their own that they made to play with, and stop pinching the ones from books!!
Xx
Oh that’s so lovely!! Will you send me a pic when they have made them please?
I love these! Older kids could totally do it all themselves (with varied results, of course!) My kids are always pulling my (fancy) bookmarks from my books – still, even though my kids are both in school now! Maybe if they had their own (fancy) bookmarks they might stop. We’ll give this a try!
#bigpinklink
Haha, monkeys! So annoying when you loose your place! Let me know how you get on with them. 🙂
aww super cute 🙂 #bigpinklink
Thank you!!
My son made one of these at school last week! He loves making all sorts of things at home with his drawing pad, markers, and scissors, LOL! Thanks so much for hosting #bigpinklink
Oh fab. My big girl is the same.
You are never too old to get creative, my junior teen made a bookmark for me over the half term during a revision break. #bigpinklink
Honestly, I enjoy it every bit as much as them! 😀
These are fantastic – you make it look so easy – love the pictures and the style of your blog – super easy to read and follow #BigPinkLink
Oh thank you, that’s lovely.xx
I love these, what a fab idea. Once my boy is old enough to need book parts we are totally making these, or they might make a great gift for his book mad Dad this Father’s day actually. Thanks for sharing xx #bigpinklink
They do make lovely personal presents I think.
Oh, I love these! |I’m not sure I have the mobile dexterity to make one at present but would love to when I’m older – I would make it in the image of my teddy bear RoRo. What a wonderfully simple creative idea and also a fab way to get children into reading too with their very own bookmark. You make it so accessible! (I wish Mother was similarly craft-y inclined but she is useless at things like this) x #bigpinklink
Seriously, these are so easy that even the most glue phobic Mummy can handle it. I think a teddy bear book mark would be brilliant. You could even cut out a photo of him to use as the face. 🙂
As someone with no artistic talent at all, those look like even I could do the,. Very cute and who doesn’t love glitter.
You can! If the worst comes to the worst, just smother the whole thing in glitter to hide any flaws!! 😉
Oooh yes, all for craft the doesn’t actually involve me having to have any craft stuff in You’re the Mr Maker of the people. ✊ #bigpinklink
I think I’m going to have that made into a badge!!! 😀
What a clever idea! It looks like it’s fun to do and encourages kids to be creative and resourceful. #bigpinklink
Oh thank you! Reduce, reuse and recycle and all that!!
Very cute! I’m going to try these with my boys #bigpinklink
These look supercute, and there are so many possibilities and characters you can make! Great ideas. I can see a puppet show going on at our kitchen table sometime soon…
Thanks for hosting #bigpinklink xx
Brilliant idea for keeping the little ones entertained. I can’t wait till my daughter is old enough to get involved in crafts! x
#bigpinklink
Those are so cute! I love anything that encourages reading. 🙂 #bigpinklink
Ah these are adorable! Such a great idea #bigpinklink
I want the pirate one – just know that little man will want to make a dog or something obscure like an otter. Will have to get my creative head on! And anything for reading is fab in my game!
Ahh these are so sweet, and so simple too! I can remember doing this as a child, I cant wait to start doing this with my youngest three! #bigpinklink
So cute! Thank you for the crafty idea, I like this because i have all the materials! My daughter loves making things so we will save this for the next rainy day. #bigpinklink
lovely idea, even I would consider doing it. Big compliment because I am the opposite of the crafty mum #bigpinklink
These are really cute, my 5 year old would have great fun making these. Thanks for posting! #bigpinklink
Yay! At last, something I could probably actually make. I am not terribly good at crafts, but these look quite straightforward. Maybe when my son is old enough to sit still for long enough…Have a fab holiday by the way. Camper van adventures sound amazing. #bigpinklink
SImple, cute and easy! My kind of craft! #bigpinklink
These are so cute!! I need to pin this for when Baby Lighty’s old enough to do crafts. Thanks for hosting #bigpinklink 🙂 xxx
This is cute! My kids are not readers yet but I can see the eldest enjoying these anyway and using them as toys! And as a teacher I can confirm that we love things with a personal touch 🙂 thanks for hosting #bigpinklink
My kids have always love making book marks, I have a whole collection lol, I don’t have any with afce though so what a cute idea. Lucky you in the camper I am so jealous I want a holiday now #bigpinklink oh and I love the pirate with his eye patch and wooden leg
These are beautiful – and beautifully simple! I am going to do this with NG the next time we don’t have NC around (he would only try and eat them …) #bigpinklink
i love arts and crafts and love getting inspiration for easy things to make with the kids. No fuss kinda things. I love it as much as the kids. 🙂 great idea and will give us something to do for the summer!
Lovely idea, really cute! My boy loves bookmarks (weird) and seems to collect them wherever he goes so I think this would really appeal to him. In fact, I might give it a go today – half term boredom is setting in! Thanks for sharing #bigpinklink
Oh god, I hate doing crafts….these look relatively straightforward though – there’s a limit to what can go wrong…! 😉
#bigpinklink
This looks like a fun activity to get creative with the kids X #bigpinklink
These look fun to make! And your camper van vids are always great! 🙂 #bigpinklink
These bookmarks are a nice simple way of getting children’s creative juices flowing, without spending a fortune. Your daughter is a girl after my own heart; nothing can be too twinkly or glittery!
xx
These are so cute! Will really have to try this when my son gets a bit older. #bigpinklink
These are so fun! And really useful too. Thanks for sharing X #bigpinklink
These look fab! I’m sure G would love making them, especially if there’s glitter involved like on your daughters lovely wand xx #bigpinklink
These look pretty straight forward I reckon even I might be able to make one of these! Saving the page for when my big boy has to have his op in the next few weeks – be good to get some crafts done while he recovers. Thanks for hosting #bigpinklink x
You are so creative! Just watched it with my youngest and we’re going to try tomorrow. He’s so excited to see your video again.
How cute! What a great idea – one to remember for when my kids are a bit older! #bigpinklink
I love little crafts like this and can’t wait for H to be old enough Thanks for hosting! #bigpinklink